
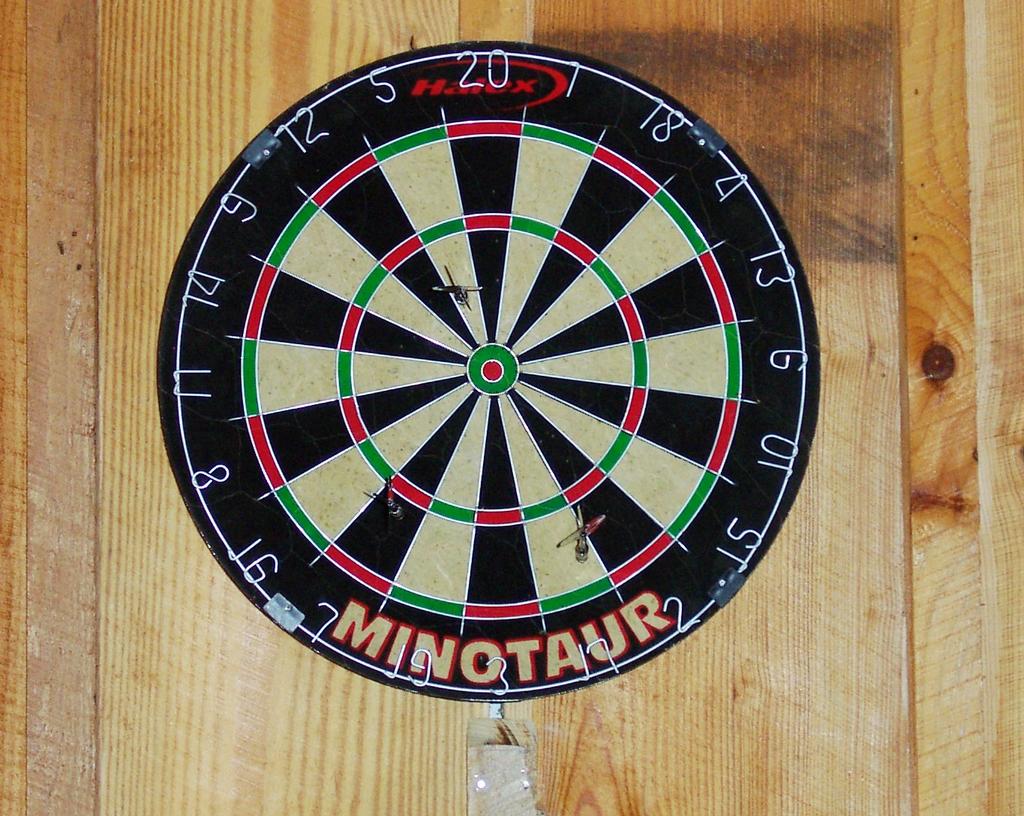

Figure 1 (above): Completed dartboard. Figure 2 (to right): Stupid little fucking hacksaw (with soda can for scale comparison).
I left work early today so I could meet the electrician. Over the course of the early afternoon, the following things happened:
- The electrician came and solved the electrical problem in ten minutes. Actually, it only took him three, but he stuck around long enough to "check for other problems" as a sop to my ego.
- The garage doors did not work. I had to dismount the brackets, bend them back into shape, and remount them before they would.
- The blade-pan almost did not reinstall on the lawn mower.
- The lawn mower repair company did not answer its phone all afternoon.
- Both The Wife and later, my parents, gave me lengthy speeches about why I need to hire a lawn care service. The Wife seemed quite emotional about this and I could not explain to her until after she had vented her emotions that I had been instructed to try and get the lawn mower professional repaired.
You will need:
- One dartboard
- One brass bracket for dartboard
- Three brass screws
- Three rubber stoppers
- Four 1/2" finishing nails
- One sleeve of 1" brads
- Ten 1 1/4" finishing nails
- 1x2 pressure-treated, unfinished pine moulding
- One patient and well-meaning but ill-timed and unfortunately curious wife
- Cordless drill
- Corded drill
- Philips head screwdriver bit for drills
- Philips head screwdriver
- Electric screwdriver
- Rubber mallet
- Claw hammer
- 3/8" drill bit
- Measuring tape (at least 8')
- Breaker bar
- Circular saw with rotating-angle plane
- Level
- Electric brad gun
- Dremel tool with nail removing head (unattached)
- Fingernail on right index finger
- Stupid little fucking hacksaw (see figure 2, above right)
- Handle for stupid little fucking hacksaw (see figure 2, above right)
- 2 cement cinder blocks
- 2 pieces extra 4x4 stud
Preparation: deny yourself food for at least five hours, or such time as is necessary that blood sugar levels are low enough to induce irritability and impatience before beginning. Allow yourself adequate time -- two and a quarter hours -- to complete task.
Phase I: Uninstall ugly shelving located opposite wall where dartboard is intended to go. Give up on using regular philips-head screwdriver upon realization that previous owner used 3" deck screws to mount ugly shelving; switch to electric screwdriver and muse idly about carpal tunnel syndrome. Discard shelving upon removal.
Phase II: Remove dartboard from container, separate brackets and other hardware. Note lack of instructions regarding what to do with extra nails and rubber stoppers. Verify height for bracket (68" from floor) with instructions and official rules of darts. Install bracket on moulding with rubber stoppers as buffers. Find center of dartboard by taking four diameters of board with a straight edge and noting point where all four intersect. Install mounting screw on dartboard at center thus located. Play two rounds of darts and note that dartboard works fine.
Phase III: Show off handiwork to wife, expecting compliments for a job well done. Instead, endure questions regarding angle and purpose of rubber stoppers. Try and make wife happy by removing bracket to re-install hoping for better fit without use of stoppers. Endure wife's observation that bracket is not mounted perfectly level. Note that moulding will no longer hold bracket thanks to holes previously drilled. Respond to wife's questions about "all those lines on back" of dartboard.
Phase IV: Reinstall brackets and center-mount screw, hang dartboard. Watch dartboard twist and turn like Wheel of Fortune on wall. Use profanity.
Phase V: Grow frustrated. Use breaker bar, claw hammer, and rubber mallet to remove molding from wall. Re-measure height for bracket, verifying level of pilot holes using level. Drill new pilot holes, install bracket. Note loss of power in cordless drill. Switch to corded drill. Note corded drill having enough power to twist segments of concrete storm drain; strip threads on screws with overtorque until they look like rivets in under one second.
Phase VI: Grow bitter. Use rubber mallet to knock the shit out of screws, pressing them flat into wall. Hang dartboard. Note stationary and steady mount of dartboard with smug satisfaction. Hold molding next to dartboard, take measurements for top and bottom of board.
Phase VII: Build makeshift sawhorse from cinder blocks and 4x4 studs. Set circular saw to 45 degree angle for intended attractive bevel cut; wallow in hubris of using powerful circular saw on wimpy 1x2 molding. Make first cut on moulding, noting blade seizure just before completion. Remove circular saw, become unable to restart circular saw. Enjoy visit from wife, who has been wondering what all the noise is about. Endure questions about why a circular saw is being used instead of a smaller, less powerful piece of equipment; explain that it is the only saw you own. Be reminded by wife that there is a hacksaw. Grow very angry and afraid of own acid tongue while rummaging through toolbox looking for stupid little fucking hacksaw. Dismiss wife with curt unfriendly words and rationalize that what you just did was better than completely venting all frustruations and contribute to an expensive, inconvenient divorce from someone you really do love. Vow to eat upon completion of task.
Phase VIII: Find and assemble stupid little fucking hacksaw. Use hacksaw to complete cuts on moulding, giving up on idea of attractive 45 degree bevel cuts. Note presence of unnecessarily long wire nails in moulding. Unsuccessfully use claw hammer to remove nails. Install nail remover on Dremel tool using right index fingernail; tear nail while screwing nail remover head on Dremel tool. Experience pain; cut nails off moulding.
Phase IX: Use brad gun to adhere moulding to wall. Note that 1" brads do not provide adequate penetration for 1x2 moulding. Search for and use 1 1/4" finishing nails instead with claw hammer to mount moulding on wall.
Phase X: Measure 8' on perpendicular line from dartboard on floor for official throwing distance. Mark spot with duct tape. Note dizzying array of tools and supplies surrounding installed dartboard as if a tornado had hit Home Depot. Find food before you pass out from blood sugar depletion. Figure out how to apologize to wife for acting like a shit all evening.
Final product should look like figure 1, at top left. Keep cat away from dartboard while in use (optional).


1 comment:
You will need:
... One patient and well-meaning but ill-timed and unfortunately curious wife.
I am available nights and weekends should anyone out there be lacking a wife to provide feedback.
Post a Comment